
Last updated August 25, 2026
Free on-site gate assessment - hinges, posts, and your LiftMaster or Nice gate operator checked before anything is quoted
The assessment is free and the quote is the invoice.

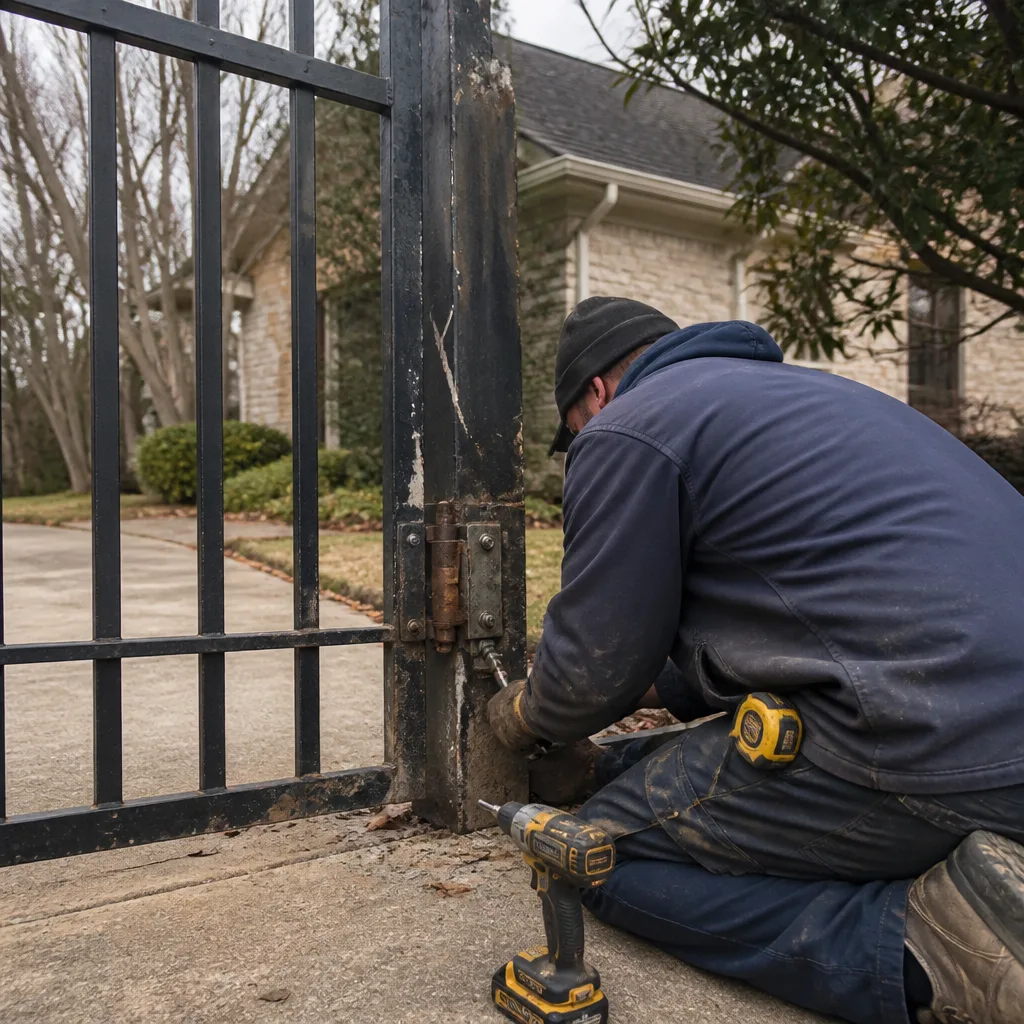 Before
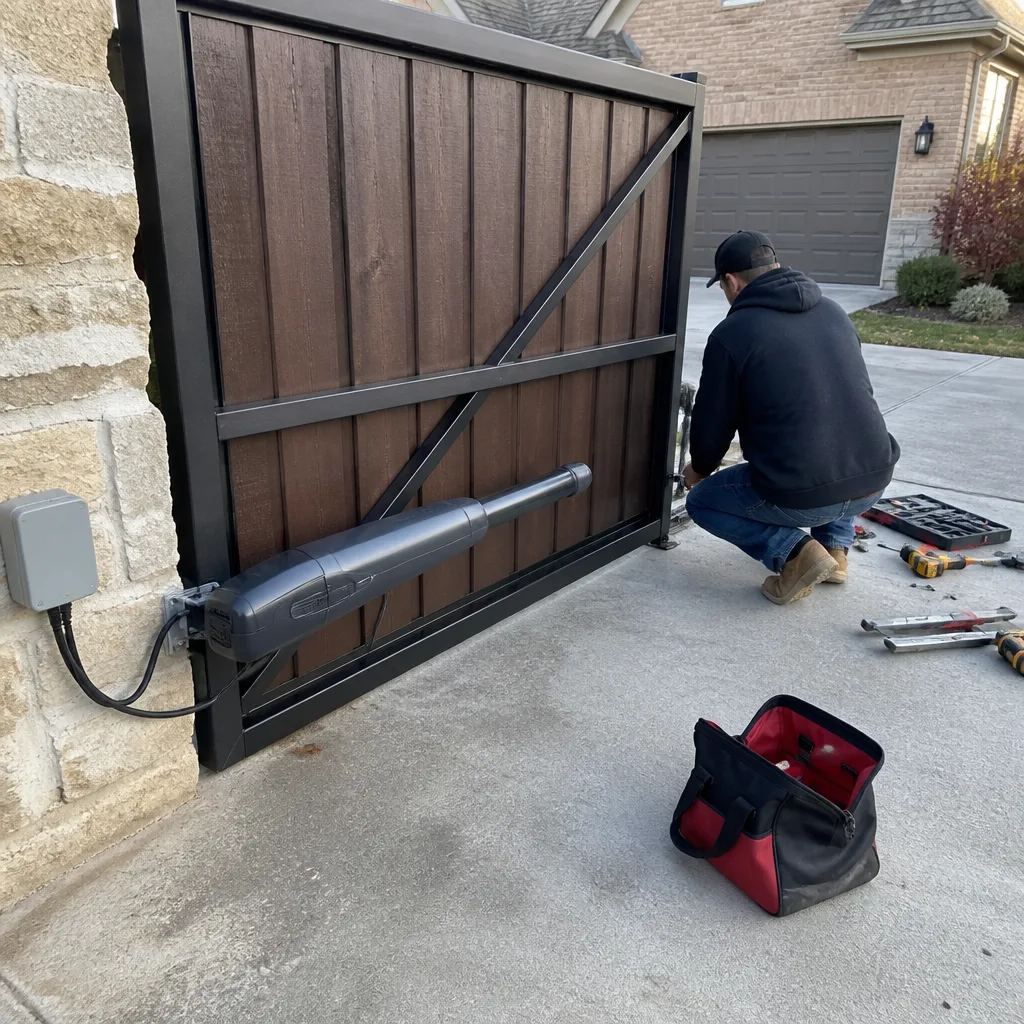 After
After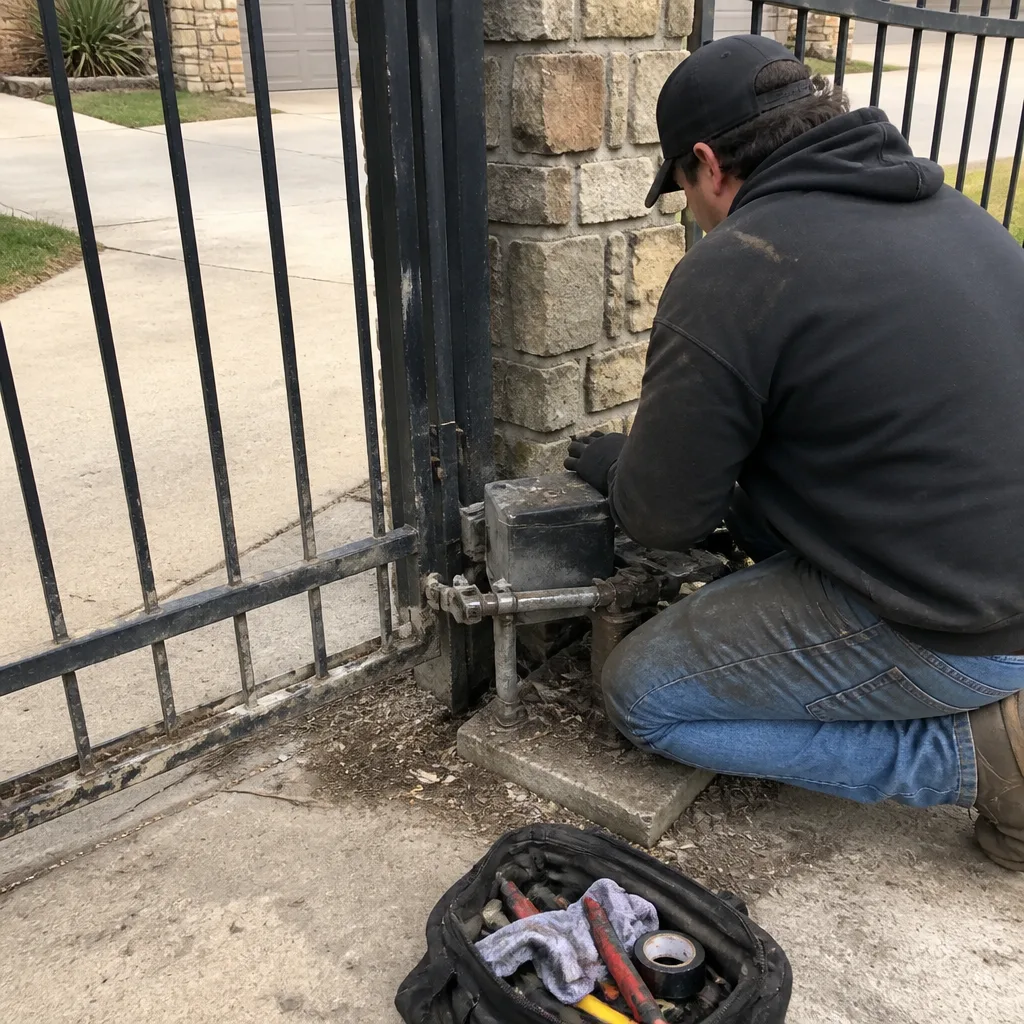 Before
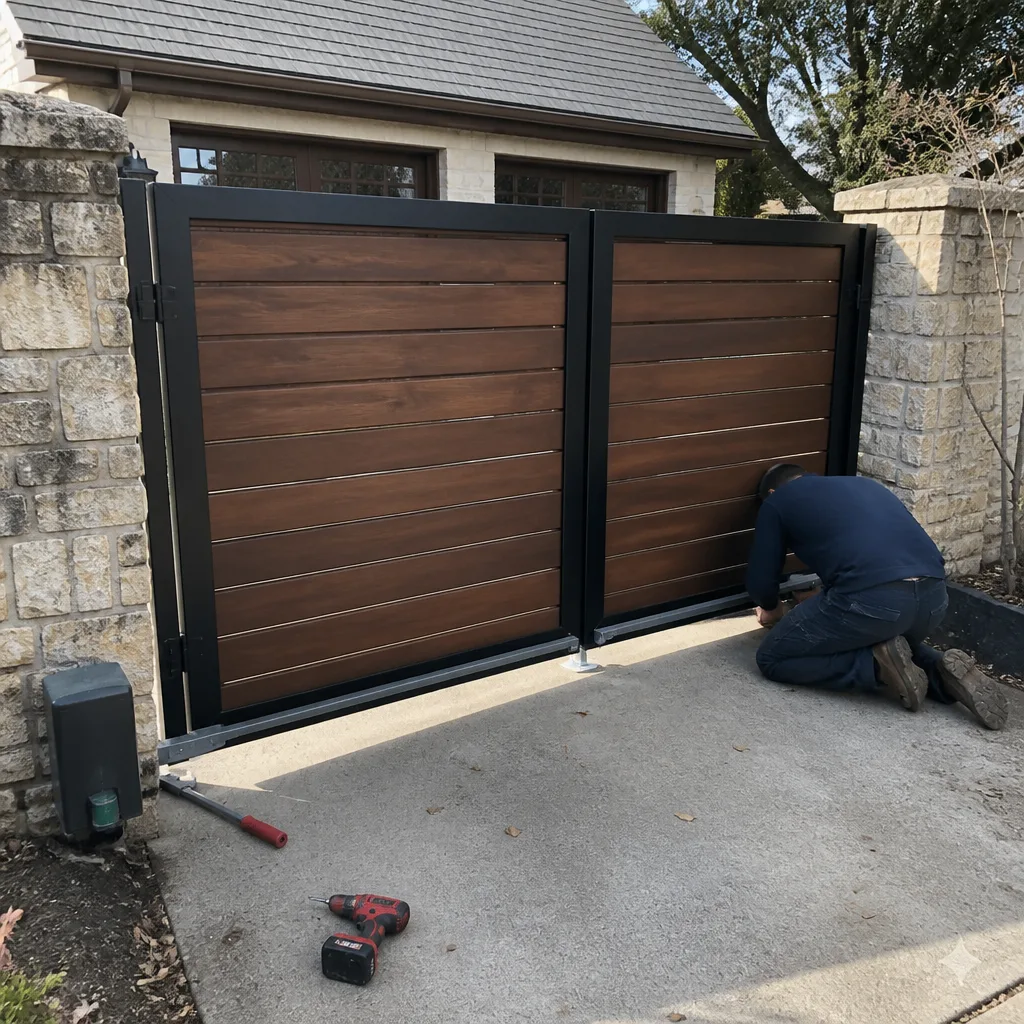 After
After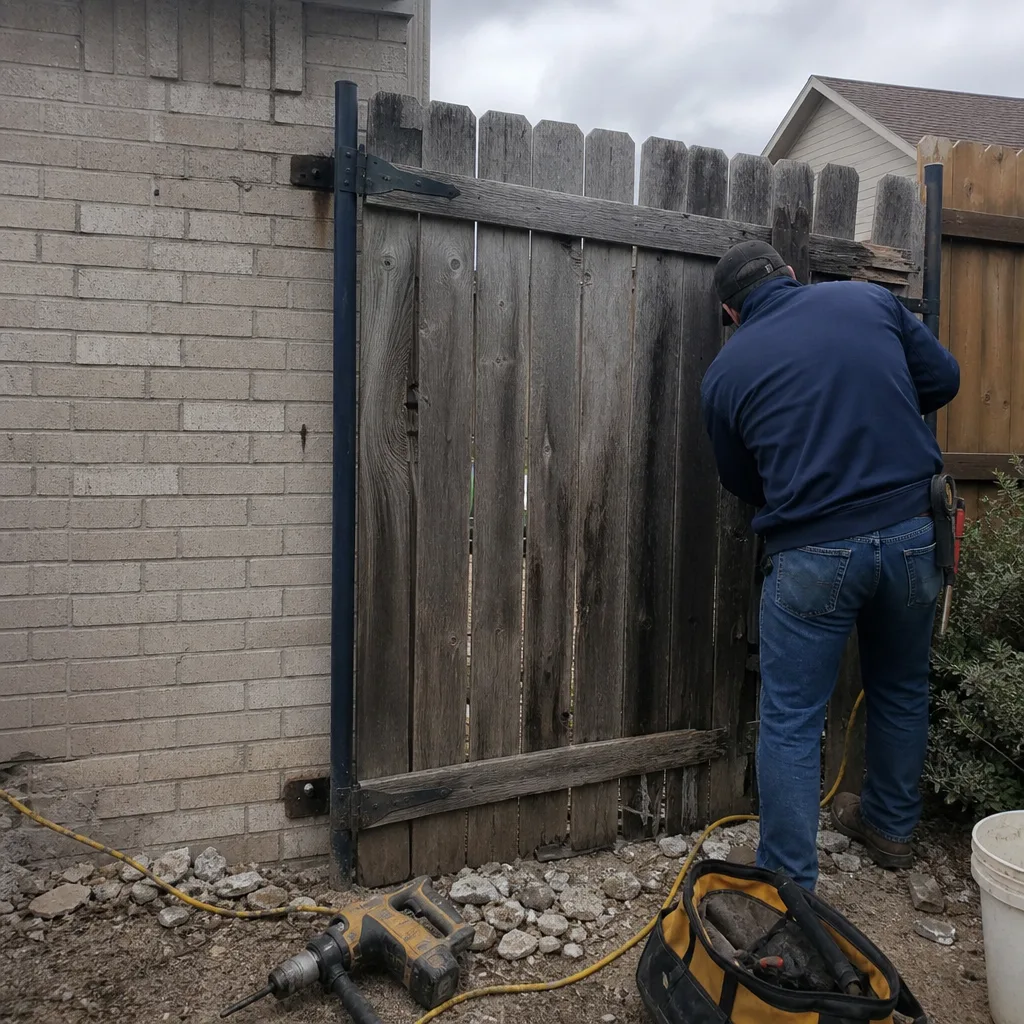 Before
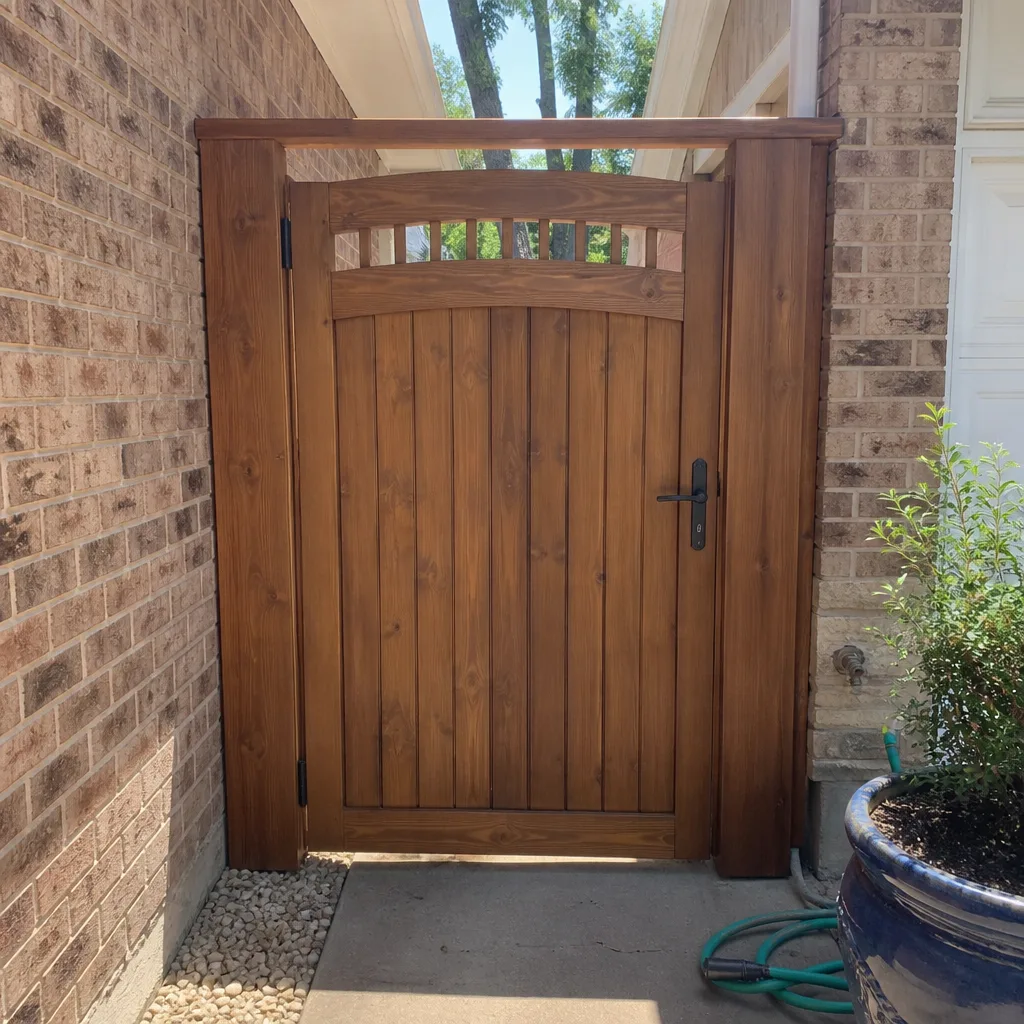 After
AfterGate Repair Maintenance Checklist for Keller Homeowners
A driveway gate in Keller fails at the worst possible time, not because the gate is poorly made, but because small problems were ignored for years. The North Texas climate, with its freeze-thaw cycles, clay soil that shifts seasonally, and summer temperatures that bake every exposed component, is harder on gate hardware than almost any other environment in the country. This guide walks through what every Keller homeowner should inspect, lubricate, tighten, and listen for, in order, and tells you exactly when to pick up the phone and call someone who fixes gates for a living.
Quick Answer
A complete gate maintenance checklist for Keller homeowners includes twice-yearly inspection of hinges and welds, monthly testing of the auto-reverse and photo-eye safety features, quarterly lubrication of moving parts with a silicone-based lubricant, checking the operator gear oil level twice a year, and an annual check of the control board for ants, moisture, and corroded terminals. Spend 20 minutes twice a year on this, and most gates will run reliably for 15 to 25 years without a major repair.
Table of Contents
- Why Keller’s Climate Demands a Different Maintenance Schedule
- Inspect Hinges, Brackets, and Welds First
- Test the Photo-Eye Sensors and Auto-Reverse Every Month
- Quarterly Lubrication: What to Grease, What to Leave Alone
- Operator and Gear Maintenance for Keller’s Heat
- Wheels, Track, and Ground Contact Points
- Electrical Connections, Battery Backup, and the Control Board
- Common Mistakes to Avoid
- When to Call a Professional
- Frequently Asked Questions
- The Bottom Line
Why Keller’s Climate Demands a Different Maintenance Schedule
Keller sits on expansive clay soil. In dry months, the ground cracks and pulls away from concrete footings. In wet months, it swells and pushes against them. For a driveway gate, this movement translates directly to the posts: a post that shifts a quarter inch at the base becomes a gate that drags at the latch end, a weld that carries more load than it was built for, and an operator motor that works twice as hard to move the same weight. We see this most often in neighborhoods like Hidden Lakes and Marshall Ridge, where older gates were set on concrete that predates the current soil conditions.
Then there is the heat. Keller averages over 90 degrees for nearly four months of the year. Gear oil in a gate operator thins in that heat. Capacitors on the control board degrade faster. Plastic limit-switch components get brittle. And UV exposure fades and cracks wire insulation, which eventually lets moisture in. All of this means the standard advice from a national gate guide, inspect once a year, is not enough here. Twice a year, in early spring before the heat and in late fall before the first freeze, is the correct cadence for Keller gates.
Key Takeaways:
- Clay soil movement is the single biggest cause of gate misalignment in Keller.
- Twice-yearly inspection beats once-yearly for our climate.
- Heat degrades electrical components faster than cold does.
Inspect Hinges, Brackets, and Welds First
Every gate hangs on its hinges, and every hinge is a wearing surface. A steel hinge pin rotating inside a steel barrel, with no lubrication, grinds metal away a few thousandths of an inch at a time. Over five years, that wear becomes visible. The gate sags. The latch no longer lines up. The operator strains. Most of the Keller gates we repair have hinge wear as the root cause, even when the homeowner calls about a motor that stopped working.
Here is the inspection sequence, in order:
- Look at the bottom gap. Stand at the hinge end and sight along the bottom rail of the gate. If the gap between gate and ground is noticeably wider at the latch end than the hinge end, the gate has sagged and the hinges are wearing.
- Listen for a clicking sound. Open the gate manually (after disengaging the operator using the release handle). If you hear a click or a grind as the gate moves, the hinge pin is loose or the barrel is ovaled out.
- Check the weld joints. Walk the full perimeter of the gate, looking at every weld where a picket meets a rail, where a rail meets the frame, and where the hinge brackets attach. In Keller’s humidity, surface rust hides hairline cracks. Tap suspect areas with a wrench and listen for a dull thud instead of a clean ring.
- Check the post caps and base plates. Loose base plate bolts allow the entire post to lean under load. Snug them with a socket wrench, but do not over-torque; a stripped anchor bolt in concrete is a much bigger job.
- Grease the hinge pins. A silicone-based grease, not WD-40, applied at the top and bottom of each pin barrel. Two pumps per hinge, twice a year.
In our experience, a Keller homeowner who replaces hinge pins at the first sign of sag gets another ten years out of a gate that would otherwise destroy its own operator within two years. The operator is not built to lift a sagging gate; it is built to swing or slide a balanced one.
Test the Photo-Eye Sensors and Auto-Reverse Every Month
Modern gate operators in Keller are required to have at least one monitored external entrapment protection device: a photo-eye sensor, an edge sensor, or both. The photo-eye sends an invisible beam across the gate opening. Break the beam while the gate is closing, and the gate must stop and reverse. This is not a convenience feature. It is the difference between a gate that closes and a gate that pins a child, a pet, or a delivery driver.
Testing takes 30 seconds. Here is how to do it:
- Start the gate closing. Use the remote or the push-button station.
- Pass your hand through the beam path while the gate is moving. You can do this from outside the opening; no need to stand in the gate’s path.
- Watch the gate. It should stop immediately and reverse to the open position. If it continues closing, the sensor eyes are misaligned, a wire is damaged, or the sensor has failed outright.
- Check the sensor alignment. Most photo-eyes have a small LED that glows steady when aligned and blinks when not. If the LED blinks, gently adjust the sensor bracket until the light steadies, then retest.
- Check for obstructions. Keller grass grows fast in spring, and a single stalk of Johnson grass in front of the sensor lens will block the beam. Trim vegetation around the sensor path every month during growing season.
One note for older gates: some operators installed before 2016 in Keller have type B1 entrapment protection, which reverses only when the gate hits an obstruction, not before. If a gate stops and reverses only when it physically hits something, call a professional. That system does not meet the current UL 325 standard and should be upgraded to monitored photo-eyes.
Quarterly Lubrication: What to Grease, What to Leave Alone
There is a persistent myth that every moving part on a gate needs oil. The truth is the opposite: over-lubrication is a bigger problem than under-lubrication in Keller, because oil and grease trap the fine dust and grass clippings that blow constantly in our wind. That grit turns lubricant into grinding paste.
Here is what gets lubricated, and what does not:
- Lubricate: hinge pins. Silicone grease, every six months. Not spray oil, not motor oil, not white lithium grease in a spray can. A thick, clear silicone grease that stays put.
- Lubricate: slide gate rollers. A drop of 30-weight oil on each roller bearing, every three months. If the roller does not spin freely after oiling, the bearing is shot and the roller needs replacement, not more oil.
- Lubricate: chain drive (if the gate has one). A light coat of chain lubricant, every six months. Wipe off the excess. A chain dripping with oil flings it onto the track and the driveway.
- Lubricate: the V-track on a slide gate. Actually, do not. A dry track is a clean track. The wheels roll on bearings, not on the track surface. Oiling the track just creates a paste of oil and dust that accelerates wheel wear.
- Do not lubricate: the clutch or limit-switch assembly. These are sealed components inside the operator. Oil on the clutch will cause it to slip and the gate to stop mid-travel.
- Do not lubricate: the control board, wire terminals, or any electrical connection. This should go without saying, but we have seen it. Oil does not protect electrical connections from Keller humidity. It corrodes them faster.
The right lubricant matters. For hinge pins, we use a food-grade silicone grease that stays stable from -40 to 400 degrees. For chains, a dry-film chain lube that leaves a wax coating rather than a wet layer. In Keller’s dust, dry-film beats wet oil every time.
Operator and Gear Maintenance for Keller’s Heat
The operator is the heart of the automated gate, and in Keller it runs hot. A metal operator box bolted to a steel post in direct Texas sun can reach 140 degrees internally on an August afternoon, even when the air temperature is below 100. Components inside are rated for 105 to 120 degrees. Every degree above that shortens their life.
Here is what a twice-yearly operator check looks like:
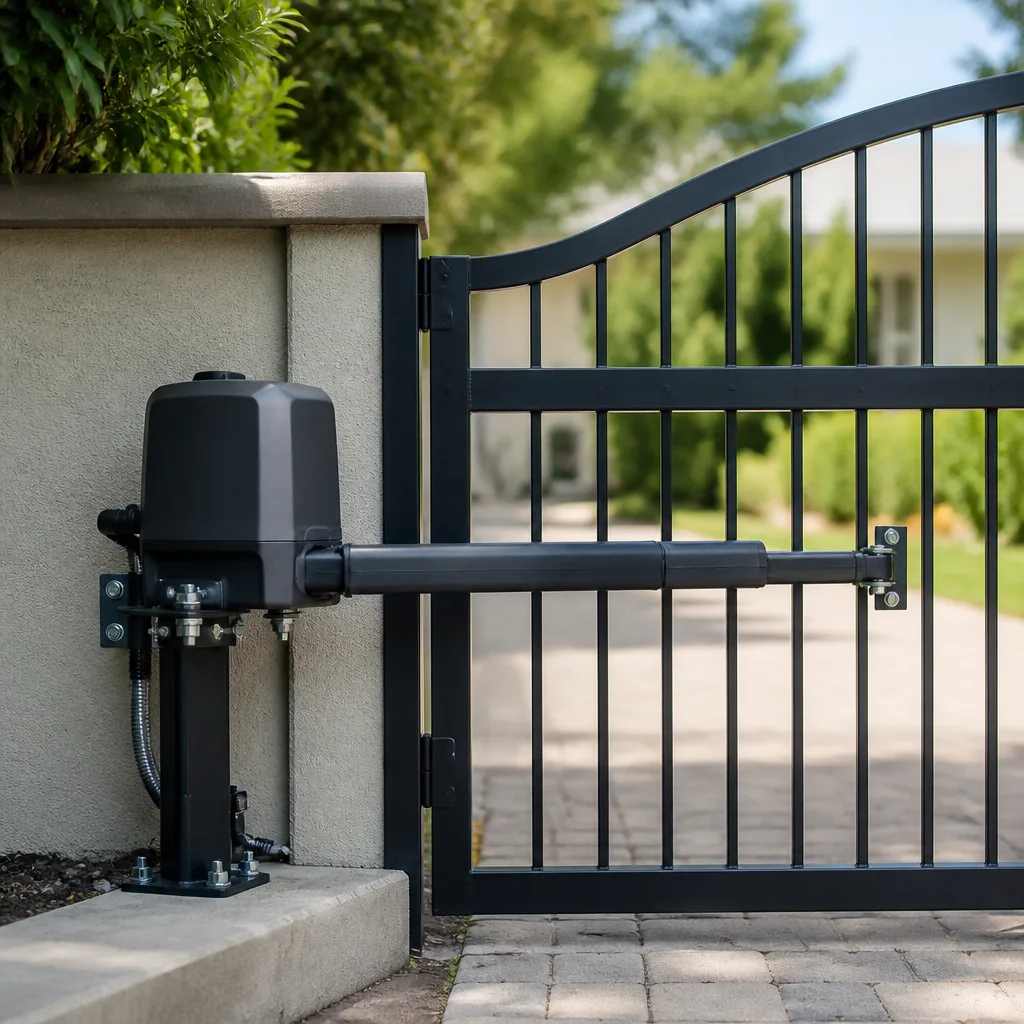
- Check the gear oil level. Most screw-drive and worm-drive operators, including many FAAC and BFT models, have a fill plug on the gear housing. Remove the plug and dip a clean zip tie into the housing. Oil should register between halfway and three-quarters up. If it is low, top off with the manufacturer’s specified oil, not whatever is on the shelf. The wrong oil weight changes how the gearbox runs in Keller’s heat.
- Check for ants. Ants are attracted to the warmth and the electromagnetic field of the control board. In Keller, fire ants and crazy ants both get into operator boxes. Crazy ants, in particular, swarm electrical contacts, get electrocuted, and the dead bodies create a conductive paste that shorts the board. Look for trails of dead ants or live ones. Keep a perimeter insecticide treatment around the operator box, but never spray inside it.
- Check the cooling vents. Most operators have small vent holes on the bottom or side. Spider webs, dirt dobber nests, and grass clippings clog them. Clear them with a brush or compressed air.
- Check the capacitor. The start capacitor gives the motor its initial jolt. A swollen or leaking capacitor is a failure waiting to happen, and in Keller’s heat it happens in July, not January. If the top of the capacitor is domed instead of flat, replace it now. The part costs under $30; the same repair on a Saturday in August costs $200 in labor.
- Check the battery backup (if equipped). Battery backup systems keep the gate working through a power outage, which matters in Keller’s storm season. Test by turning off the breaker that supplies the operator, then operating the gate. If the gate does not open or opens slowly, the battery is at the end of its life, usually 3 to 5 years in our heat.
If this feels like more than you want to do, that is what a seasonal tune-up is for. A trained technician can run through all of this in about 45 minutes, and the cost is less than a single emergency service call. Ironworks Gate Co. offers an $89 Seasonal Tune-Up that covers everything in this section, plus hinge lubrication, sensor alignment, and a written condition report with recommendations.
Wheels, Track, and Ground Contact Points
Slide gates depend on wheels and track. Swing gates depend on hinges and the ground clearance. Both are affected by Keller’s soil movement, and both need attention twice a year.
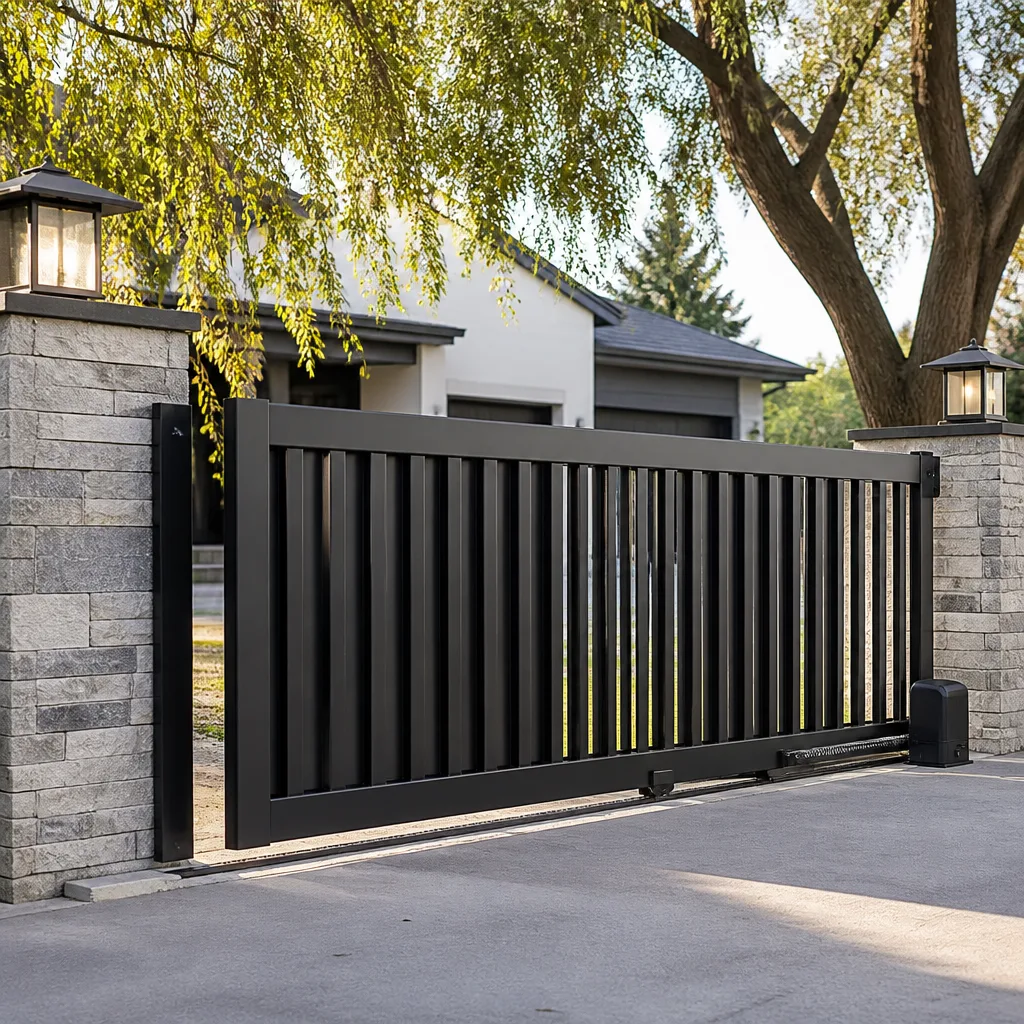
For a slide gate:
- Inspect every wheel. Rollers should spin freely, without wobble, with no flat spots. A flat spot on a roller wheel creates a thump-thump-thump as the gate moves, which transfers shock to the operator gearbox.
- Check the track surface. The V-track should be smooth, free of rust scale, and clear of debris. In Keller, windblown oak leaves and grass clippings accumulate in the track channel. Clean it out with a leaf blower or a stiff brush monthly.
- Check track level. Lay a 4-foot level across the track at two points. If the track has settled or heaved, the gate will pull to one side and bind. A track out of level more than a quarter inch over four feet needs re-shimming.
- Check the guide rollers. The vertical guide rollers at the top of the gate frame keep it from tipping. Worn guide rollers let the gate lean, which changes the wheel-to-track contact angle and wears wheels unevenly.
For a swing gate:
- Check ground clearance. A swing gate should clear the driveway by 2 to 4 inches at the latch end. Less than 2 inches in summer means it will drag when the clay soil swells in spring. More than 4 inches creates a gap large enough for a small dog to crawl under.
- Check the latch post. The latch post takes a beating every time the gate closes. Look for a loosened post, a worn latch pin, or a hole in the latch plate that has become ovaled. A gate that bounces when it hits the latch is wearing the operator clutch.
- Check the drop rod or cane bolt. On double swing gates, the inactive leaf is held in place by a drop rod that goes into a socket in the driveway. That socket fills with sand and fine gravel in Keller. If the drop rod will not seat, the gate leaf will wobble and eventually twist.
Electrical Connections, Battery Backup, and the Control Board
Most gate failures in Keller are not mechanical. They are electrical. A corroded wire nut, a loose terminal screw, a blown fuse, a control board killed by a power surge from a spring thunderstorm. The mechanical parts, the steel and the hinges and the wheels, they degrade slowly and give warning. The electrical parts just stop.
Here is what to check, in order:
- Turn off power at the breaker. Do not open a live operator box unless you are trained to work on line-voltage equipment. Serious injury from a capacitor discharge is possible even after the breaker is off. If you are not comfortable with this section, skip it and call a professional. This is one area where the risk is not worth the savings.
- Check every wire terminal. With power off, test each screw terminal with a flathead screwdriver. A terminal that has loosened even a quarter turn creates resistance, heat, and eventual failure. Snug any loose terminal.
- Look for green or white corrosion. Copper wires in Keller’s humidity develop green corrosion at connection points. Corroded terminals should be cleaned with a wire brush and treated with a corrosion inhibitor, not just tightened over.
- Check the transformer. The low-voltage transformer is the component that most often fails from heat. Look for burnt smell, discolored windings, or a swollen case. A transformer that runs too hot to touch is near failure.
- Check the surge protector (if equipped). Keller gets real lightning, and a nearby strike can send a surge through the power line into the operator. A small plug-in surge protector inside the operator box sacrifices itself to save the board. If the surge protector light is red or off, replace it.
- Test the manual release. Every automatic gate must have a manual release that lets you open the gate by hand during a power outage. Find the release, usually a lever or a keyed lock on the operator, and test that it disengages the motor. If it is stiff or seized, the operator needs service before the next storm.
For systems with battery backup, the battery itself needs testing at least twice a year. A battery that has been sitting in a hot operator box for three Keller summers may show a full charge on the meter but fail under load. The only reliable test is to disconnect incoming power and operate the gate on battery alone. A gate that moves slowly or stops halfway has a failing battery, not just a low charge.
Common Mistakes to Avoid
- Using WD-40 on hinges. WD-40 is a water displacer, not a lubricant. It washes out the grease, provides 48 hours of temporary slickness, and then leaves the hinge drier than before. Use silicone grease.
- Adjusting the limit switches to fix a sagging gate. When a gate starts sagging, the temptation is to adjust the open and close limits so the gate stops short of the bad spot. This does not fix the sag; it just moves the symptom around, and it puts the operator in a bind during part of its travel. Fix the hinge, then reset the limits.
- Ignoring a gate that opens and closes slowly. A slow gate is a warning sign, not a personality trait. It means the motor is working harder than it should be: a failing capacitor, a dragging wheel, a hinge binding, a clutch slipping. None of those problems gets better on its own.
- Power-washing the operator box. Keller homeowners power-wash everything in spring, and the operator box is not built for that. Water forced into the vents gets into the control board and the limit switches. Wash the gate, yes. Wash the operator box, no.
- Ignoring a photo-eye that blinks. A blinking sensor LED means misalignment or a blocked beam. Many homeowners train themselves to expect the gate to stop mid-close and reverse, and they just hit the button again. Do not do that. A gate that can not close reliably is a gate that will eventually close on something.
- Letting vegetation grow up around the gate and operator. Keller’s growing season is aggressive. Vines climb gate posts, grass grows over the track, shrubs block the photo-eye path. Clear vegetation at least monthly during spring and summer, and keep a 12-inch clear zone around the operator box.
- Replacing the operator before checking the gate itself. This is the most common expensive mistake we see. A homeowner replaces a $1,200 operator, and the new one burns out in 18 months because nobody fixed the binding hinge or the dragging wheel that killed the first one. Check the gate before you replace the operator.
When to Call a Professional
Some maintenance is homeowner-level. Some is not. The line is different for everyone, and there is no shame in hiring work out. A trained gate technician in Keller handles every issue on this page in a single visit, and the important thing is that the work gets done, not that you do it yourself.
Call a professional if: the gate has sagged enough to drag, you hear grinding from the operator gearbox, the control board shows burn marks or a burnt smell, the photo-eye system does not respond to testing after you have checked alignment, the gate operates on its own or opens partially and stops, or any electrical issue is present that you are not trained to work on. Line voltage and charged capacitors can cause serious injury. If you are not sure, the correct answer is to call someone who is.
Ironworks Gate Co. offers free estimates in Keller, and we service every brand of operator listed in this guide. Call (254) 330-8718 and a live person will answer, day or night.
Frequently Asked Questions
Twice a year. Once in early spring, before the heat arrives, and once in late fall, before the first freeze. The spring visit should focus on electrical components, ant prevention, and soil movement after spring rains. The fall visit should focus on hinge wear, lubrication, and battery backup testing before storm season. A $89 Seasonal Tune-Up covers a full maintenance pass, and both visits combined cost less than one emergency call.
Hinge and wheel replacement, by a wide margin. The clay soil underneath Keller moves more than people expect, and that movement works a gate out of alignment. A gate out of alignment eats hinges, wheels, and operators. The fix is usually a set of new greaseable hinges or sealed roller bearings, a re-shimming of the post or track, and a reset of the operator limits.
Most Keller gate repairs land between $150 and $600. Hinge pin replacement runs $150 to $300. A new photo-eye sensor is $180 to $350 installed. A capacitor replacement is $120 to $220. A full operator replacement, with a new motor and control board, runs $1,100 to $2,800 depending on the brand and the gate weight. Every price should be quoted in writing before any work starts. Ironworks Gate Co. settles the price before a single bolt is turned, and we offer $50 Off Any Repair Over $250 and a Free Second Opinion on Any Written Estimate.
You can lubricate the hinges and clean the track yourself. The things to leave to a professional are the gear oil level, the clutch adjustment, and the control board, because a mistake in any of those three areas turns a $20 maintenance item into a $400 repair. If the operator box has a warning sticker about high voltage, the safe answer is to close it back up and call someone.
Every automatic gate has a manual release. Find it, usually a lever or a keyed lock on the side of the operator, and disengage the motor. You can then push the gate open by hand. If you do not know where the manual release is, or it is seized, call during the daytime and have a technician show you. A gate that can not be opened manually is a safety hazard in a storm, when Keller streets flood and you need to get a vehicle out.
Yes. We are trained and equipped on nine major gate-automation brands, including FAAC, BFT, Linear, and Viking, plus LiftMaster, Ghost Controls, DoorKing, Elite, and Mighty Mule. The right fix gets made on the first visit, whatever is on the driveway. Call (254) 330-8718 for a free estimate in Keller.
The Bottom Line
A Keller driveway gate is a long-term asset, and the maintenance required to protect it is modest: 20 minutes twice a year, a few dollars of silicone grease, and a habit of listening to the gate when it talks. The hinge that clicks, the wheel that thumps, the sensor that blinks. These are not mysteries. They are early warnings. The Ironworks Gate Co. home approach to maintenance is simple: catch the small problems before they become big ones, and stand behind the work in writing. That is what the 90-Day Done Right Promise is for. A gate is not something to think about. It is something to keep right, so it works when you need it, every time.
Written by Victor Salinas, Owner at Ironworks Gate Co., serving Keller since 2013.